About this display
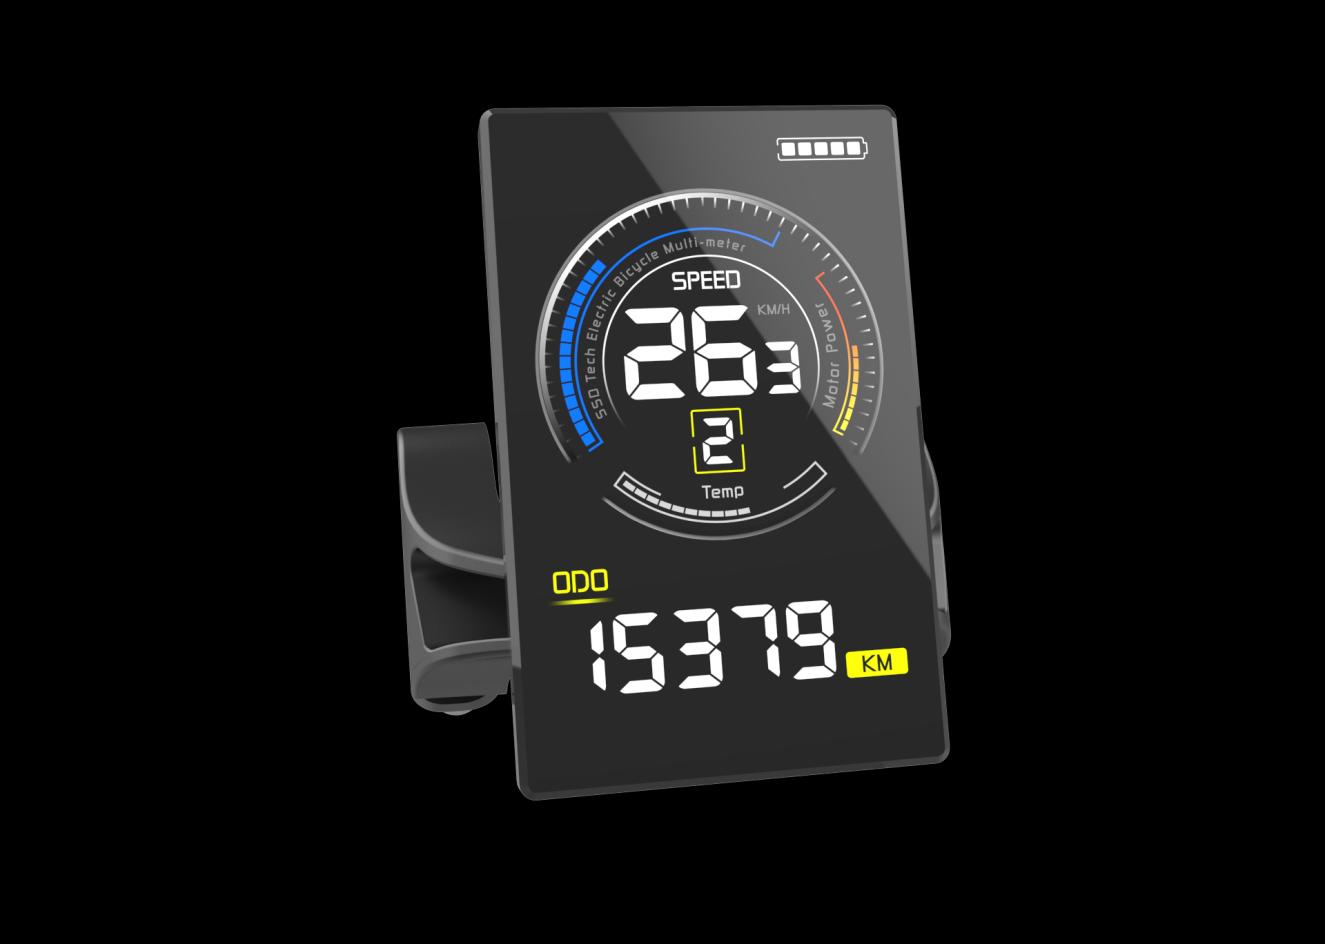
The Display Nokee colour display is a colour display with five buttons that is mounted on the handlebar, including on Stella e-bikes with a Mobi system. On this page you will find the complete manual: specifications, button operation, all screen views, the settings menu and the error code table. Clearly translated and summarised, so you can quickly find the answer.
Unsure about an error message on a Stella with a Mobi system? Also take a look at our page Mobi system: error messages and solutions.
Buy now Become a service partner
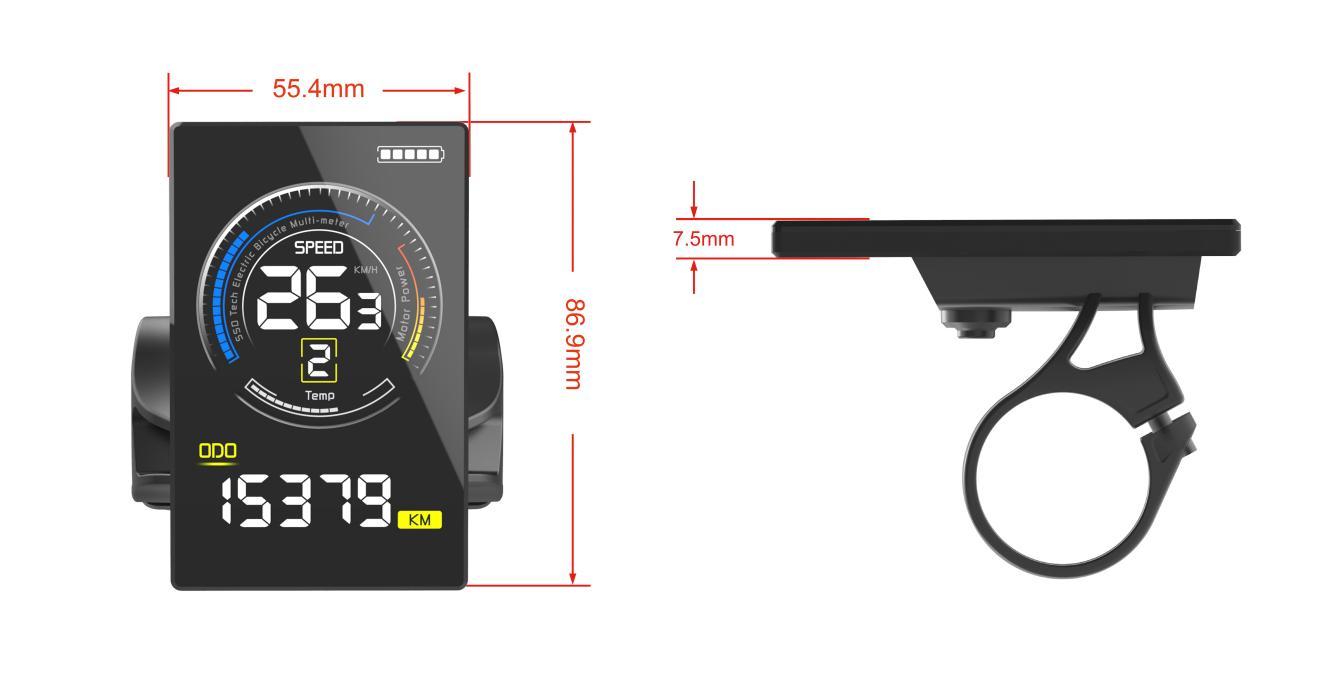
Model Nokee colour display | Housing Black PC + tempered glass, matte | Operating temperature -20 °C ~ 60 °C | Dimensions 55.4 x 86.9 mm | Leakage current (off) < 1 μA |
Function overview
The Nokee colour display shows everything you need while riding:
- Battery level (5 segments)
- Speed, average and maximum speed
- Distance: trip counter (TRIP), trip time (TRIP TIME) and total distance (ODO)
- Assist level (PAS 0 to 5)
- Walk assist
- Lights and backlight
- Error codes
- Various adjustable parameters
Buttons and installation
The Nokee colour display has five buttons. In this manual we refer to them as follows:
POWER On/off. A short press switches the view at the bottom of the screen. |
SET Opens the settings menu (only when stationary). |
UP (+) Assist level up, increase value in the menu. |
DOWN (-) Assist level down, hold for 2 sec. for walk assist. |
LIGHT Lights on or off. |


Mount the display on the handlebar and adjust the viewing angle. Only connect the display plug to the controller when the e-bike is switched off.
Note: never disconnect or connect the display while the system is switched on. Avoid bumping the display and do not remove the protective film: it keeps the display waterproof.
General operation
1. Switching the system on/off
Hold POWER to switch the display on. The display then supplies power to the controller. Hold POWER again to switch the system off. When switched off, the display draws virtually no power from the battery (leakage current < 1 μA).
If the e-bike is not used for more than 10 minutes, the display switches off automatically. You can change this time in the settings (P03).
2. Screen view
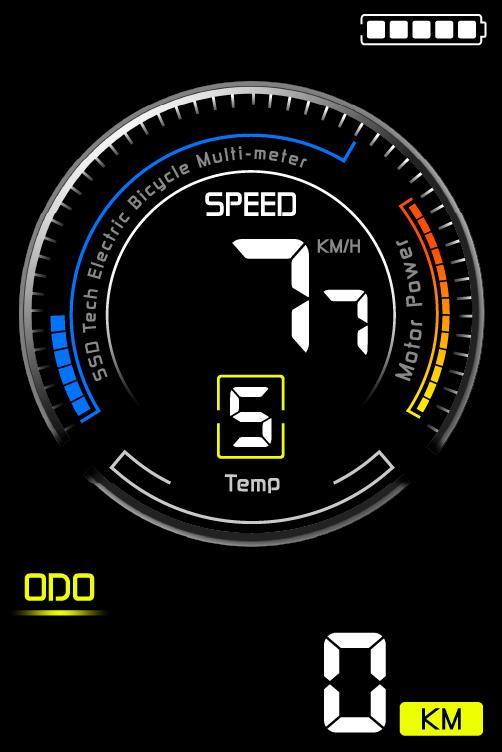
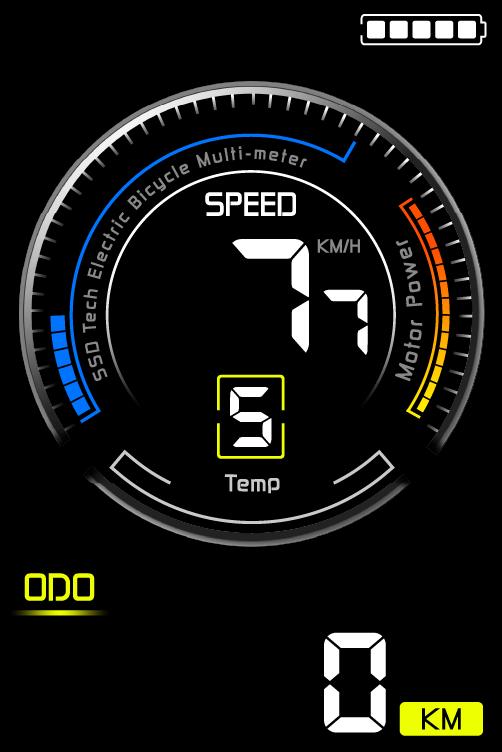
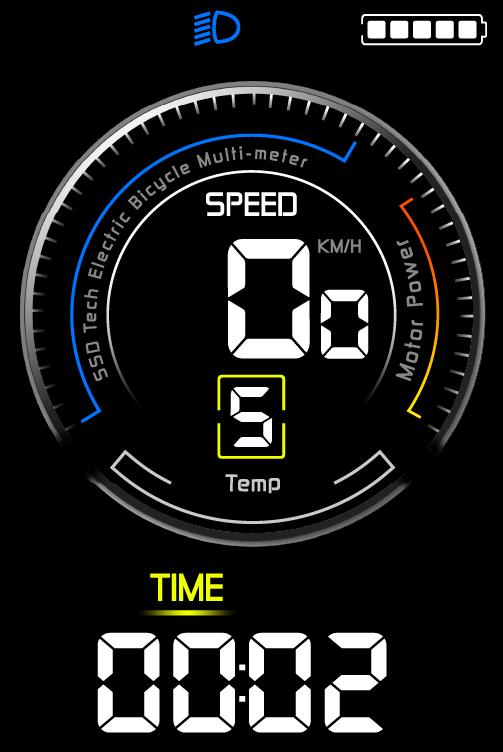
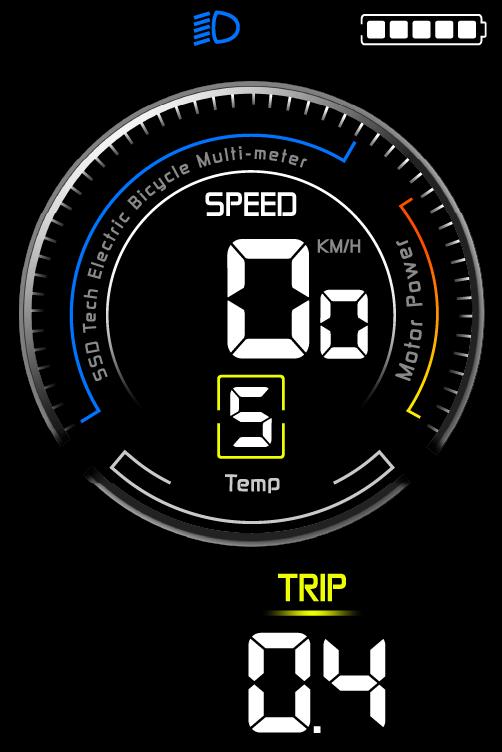
After switching on, the screen shows the current speed, motor power, assist level (PAS) and total distance (ODO). Briefly press POWER to switch the bottom of the screen between average speed, maximum speed, trip time (TIME) and trip counter (TRIP).
3. Walk assist
Hold DOWN for 2 seconds to activate walk assist. The e-bike then moves at a constant speed of 6 km/h as long as you hold the button.
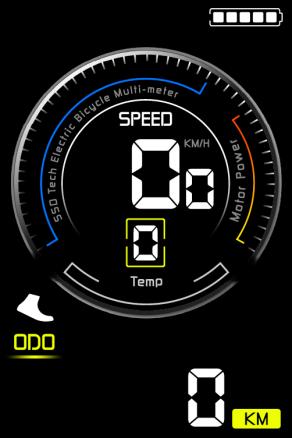
Note: only use walk assist when walking next to the bike, never while riding.
4. Lights on/off
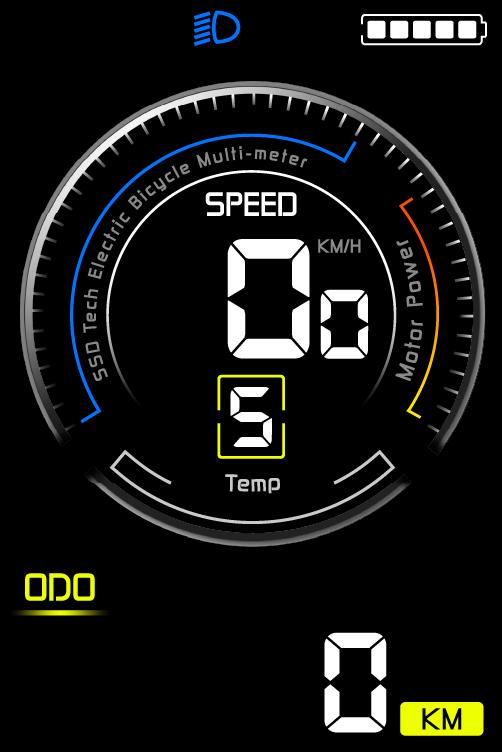
Briefly press LIGHT to switch the lights on. The lamp icon appears at the top left of the screen. Briefly press the button again to switch the lights off.
5. Choosing the assist level
Briefly press UP or DOWN to change the assist level. By default this ranges from level 0 (no assistance) to level 5 (maximum assistance).
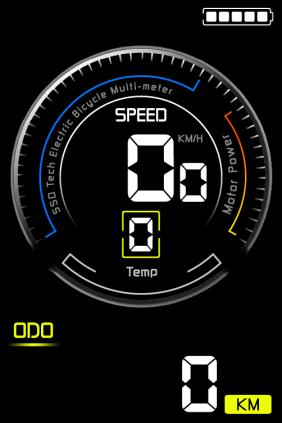
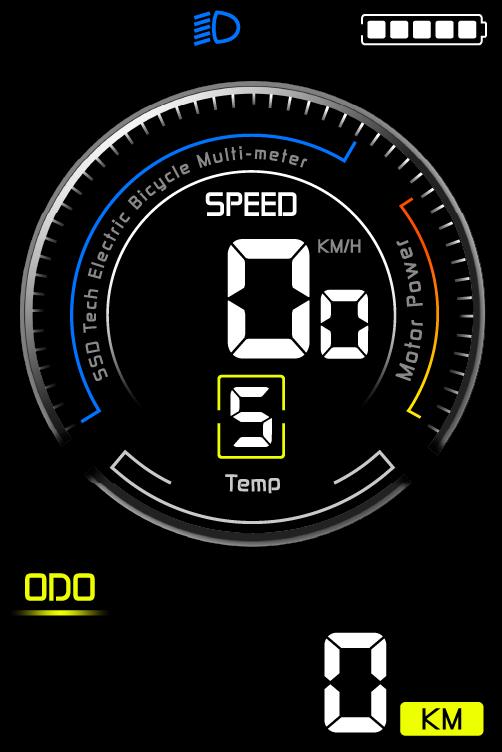
6. Battery indicator
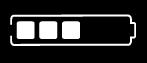
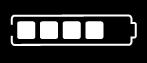
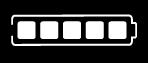
The battery level is shown at the top right in five segments. When the battery is fully charged, all five segments are white. The fewer segments, the emptier the battery.
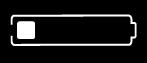
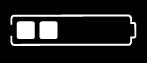
7. Resetting the trip counter
When stationary, go to the TRIP view and hold SET and DOWN at the same time. The trip counter (TRIP) and the trip time (TRIP TIME) are then both reset to zero.
8. Error code
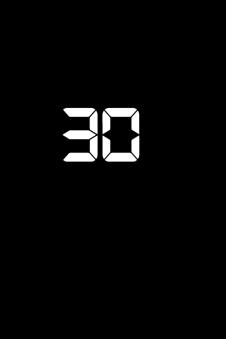
If there is a fault in the electrical system, the display automatically shows an error code. As long as the fault is active, the error code stays on screen and the e-bike will not continue to ride. You can find the meaning of the codes in the error code table at the bottom of this page.
Settings
When stationary and with the system switched on, briefly press SET to open the settings menu. Briefly press SET to go to the next setting and adjust the value with UP and DOWN. Hold POWER to save the setting and exit.
Note: do not change the technical settings (P04 and higher) without good reason. Incorrect values can stop the e-bike from riding properly. Unsure? Contact us first.
| Code | Setting | Possible values | Screen |
|---|---|---|---|
| P01 | Backlight brightness | 1 to 3 (higher = brighter) | 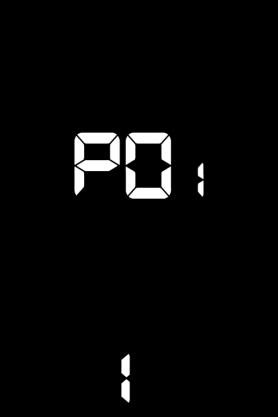 |
| P02 | Unit | km/h or mph | 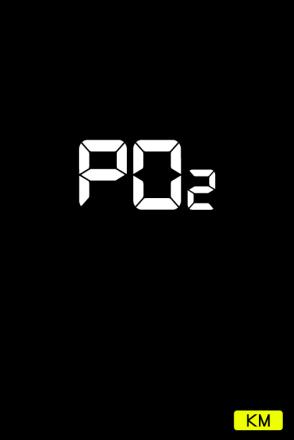 |
| P03 | Automatic shutdown | 1 to 60 minutes | 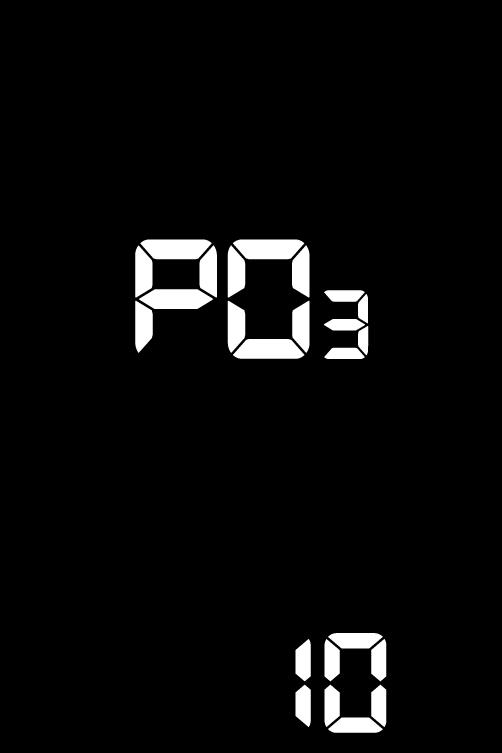 |
| P04 | Wheel size | 16, 18, 20, 22, 24, 26 inch, 700C, 27.5 inch, 28 inch | 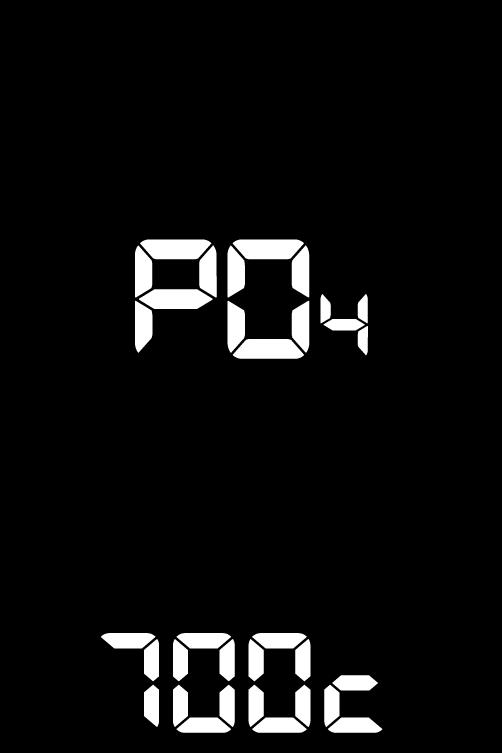 |
| P05 | Speed limit | 12 to 40 km/h | 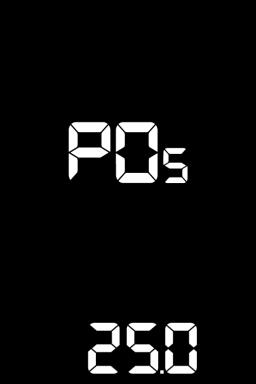 |
| P06 | Speed sensor | 1 to 6 | 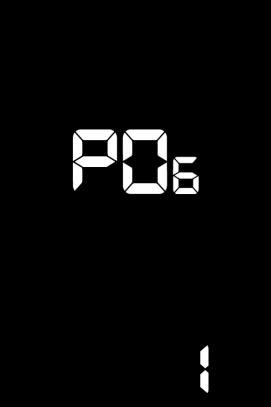 |
| P07 | Zero start | 0 = start from standstill, 1 = start only when moving | 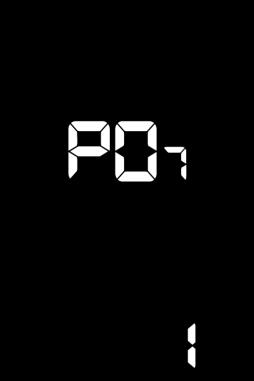 |
| P08 | Drive mode | 0 = pedal assist, 1 = electric, 2 = both | 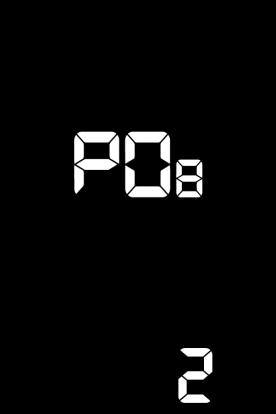 |
| P09 | Pedal sensor sensitivity (PAS) | 1 to 24 | 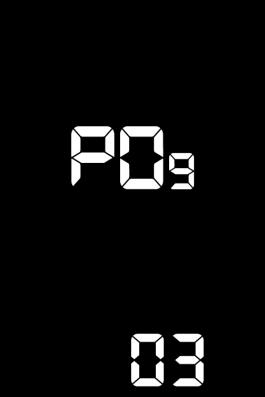 |
| P10 | Start intensity | 0 to 5 | 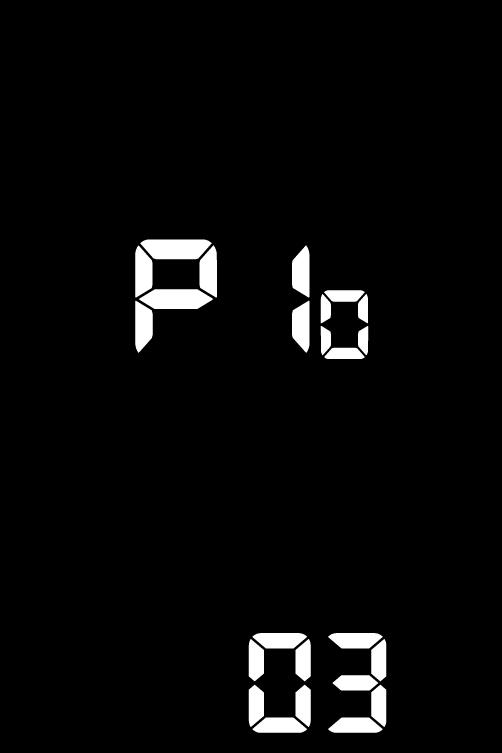 |
| P11 | Number of magnets on PAS sensor disc | 5, 8 or 12 | 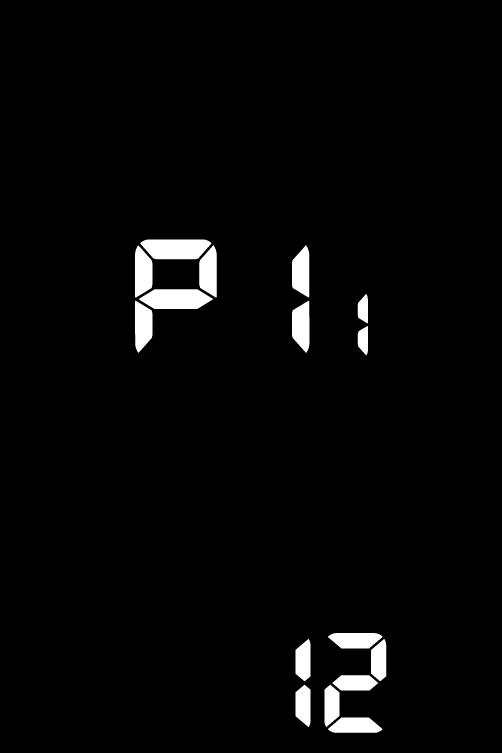 |
| P12 | Controller current limit | 1 to 20 A | 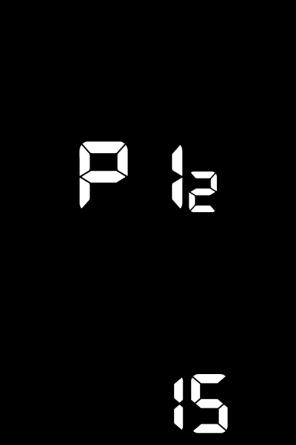 |
Frequently asked questions
The display won't switch on. What now?
Check whether the battery is switched on and whether the display cable is damaged.
There is an error code on the display. What should I do?
Look up the code in the error code table below and contact a service point or our technical service.
Error code table
| Error code | Meaning |
|---|---|
| 21 | Controller fault |
| 22 | Throttle fault |
| 23 | Motor phase problem |
| 24 | Motor Hall sensor fault |
| 25 | Undervoltage protection (battery voltage too low) |
| 30 | No communication between display and controller |
Can't figure it out?
Our technical service will help you with the right diagnosis and parts.
 Quality
 Service
 Availability