About this product
The Vinka DC31 is the smart LCD display that is standardly used on, among others, our Amslod models. On this page, you will find the complete manual: specifications, button operation, all screen displays, settings menu, and the error code table — clearly translated and summarized so you can quickly find the answer.
Are you unsure about an error message? Then check our extensive Vinka error messages & solutions page for advice per error code.
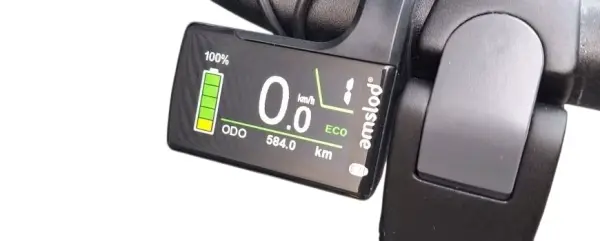
Model DC31 | Power 36V / 48V | Operating temperature -20°C ~ 60°C | Water resistance IP65 | Leakage current (off) < 1 μA |
Function overview
The DC31 has an extensive feature set to meet the user's needs:
- Independent left button unit, ergonomically designed
- Switching between metric/imperial, UI personalization possible
- Usage statistics per support level
- Smart battery SOC display with real-time voltage
- Display of speed, cadence, ODO, trip, max./avg. speed, motor power, and battery
- Adjustable and visible support level
- Lighting control with indicator
- Walk assistance (push-assist) with indication
- Clear error code indication
- Adjustable parameters (wheel size info, speed limit, etc.)
Buttons and installation
The DC31 has four buttons: the ON/OFF button on top of the right unit, the MODE button on the bottom of the right unit, and the light/plus and minus button on the separate left button unit.
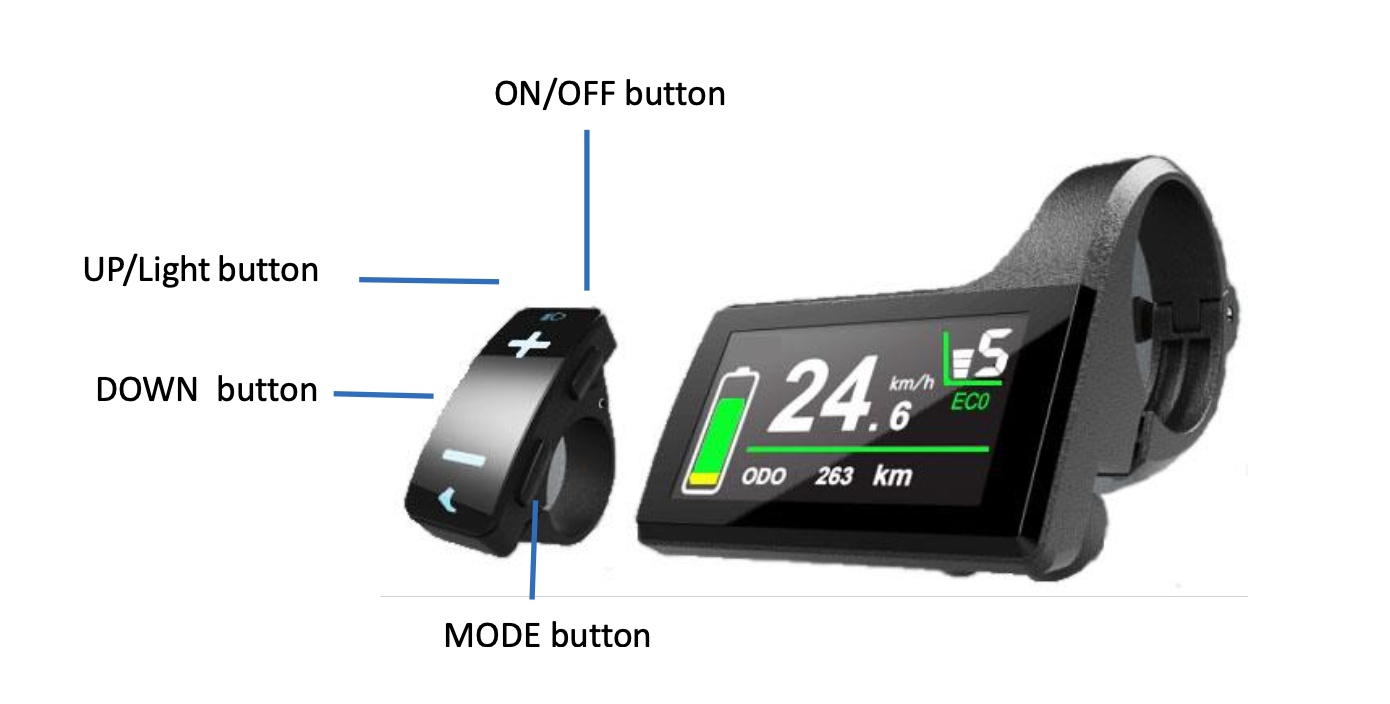
Vinka DC31 display with separate left button unit (ON/OFF, MODE, light/plus, minus)
ON/OFF On top of the right unit. Hold for 1s to turn the system on or off. | MODE On the bottom of the right unit. Switches screens and opens the settings menu. | UP / Light (+) On the left unit. Increases the support level, long press for lighting. | DOWN (-) On the left unit. Decreases the support level, hold for walking support. |
The DC31 is mounted in the center of the handlebars. Adjust the viewing angle properly and always disconnect the connectors between the display and controller from the power.
General operation
Turn the system ON/OFF
Press and hold the ON/OFF button for 1 second to turn the system on and power the controller. Press and hold the button again for 1 second to turn off — the battery will then not be loaded (leakage current < 1 μA).
Is the e-bike stationary for more than 15 minutes? Then the system will automatically turn off.
2. Switch display interface
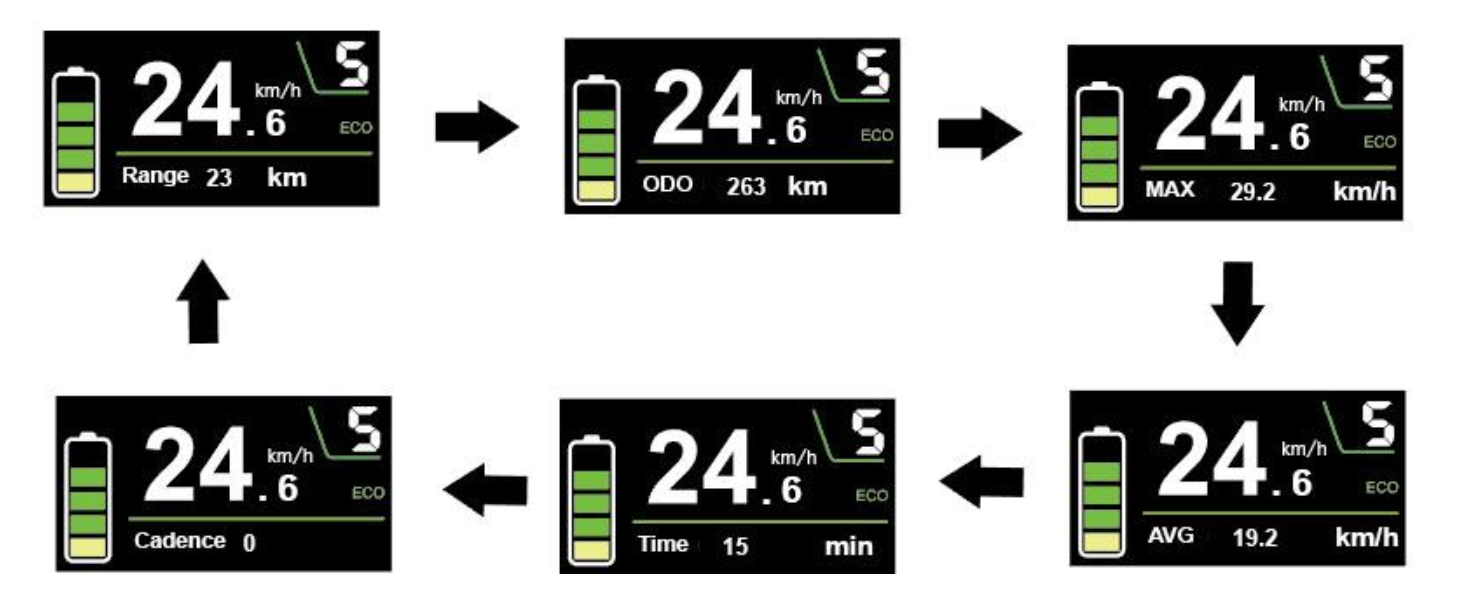
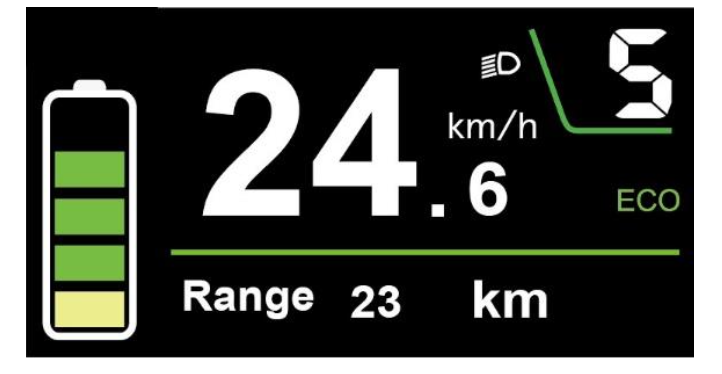
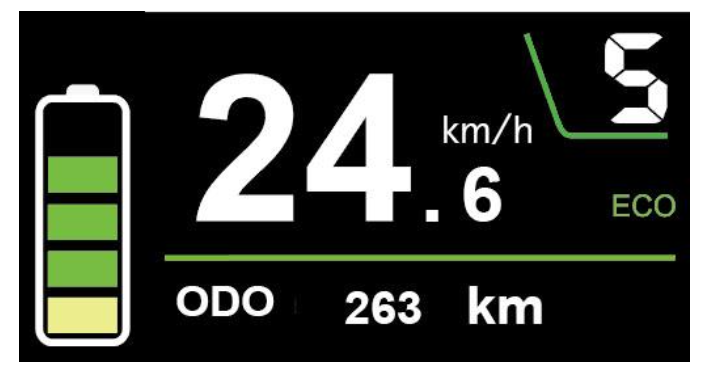
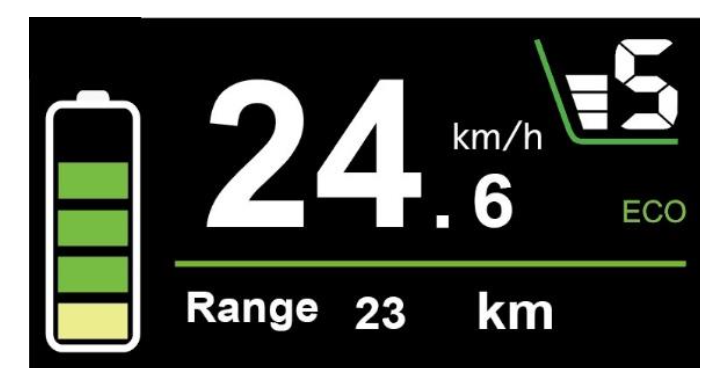
After turning on, the screen displays speed, battery SOC, type of support, support level, and trip distance by default.
- Short press MODE (±1s): switches between cadence / total mileage / max. speed / avg. speed / ride time / trip
- Press and hold MODE (>1s): switches between ECO, TOUR and BOOST
3. Walk assistance (push-assist) on/off
Press briefly on MODE and then hold DOWN for up to 3 seconds to activate walk assistance. The e-bike will then move at a fixed speed (default 6 km/h) as long as you hold the button.
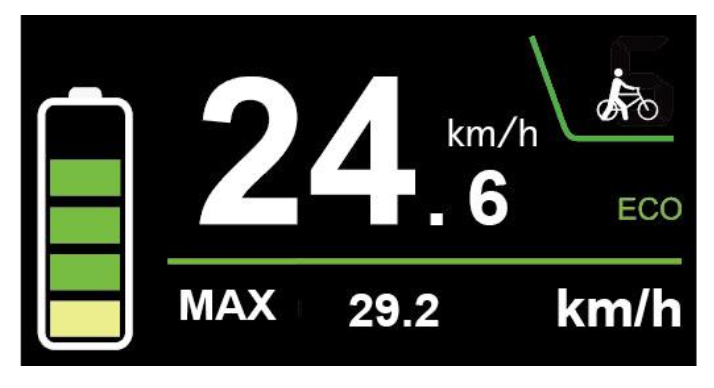
Note: use walk assistance only when walking next to the bike — not when the wheels are off the ground.
4. Lights on/off
Hold UP for 1 second to turn on the bike lights — the light icon appears and the screen brightness is automatically reduced. Holding for another second will turn the lights off again.
5. Select support level
Press UP or DOWN to switch between level 0 to 5. Level 0 = no assistance, level 1 = minimal, level 5 = maximum motor power.
6. Battery indicator
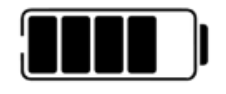
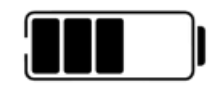
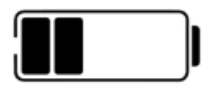
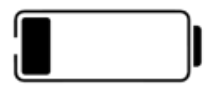
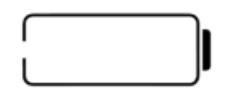
The battery status is displayed in 5 segments. Default voltage is 36V, with transition points at 30.5 / 32.5 / 34.35 / 36.03 / 37.48 / 39.46 V.
| Battery percentage | Indicator | Number of segments |
|---|---|---|
| 80% and above |
| 5 (full) |
| 60% – 80% |
| 4 |
| 40% – 60% |
| 3 |
| 20% – 40% |
| 2 |
| 10% – 20% |
| 1 |
| 5% – 10% |
| 0 (empty) |
| Below 5% |
| 0, icon blinks (1 Hz) — direct charging! |

7. Motor power indicator
The delivered motor power is displayed via a bar indicator on the display, so you can see at a glance how hard the motor is working.
8. Error code indication
All components of the e-bike system are continuously monitored. In case of a malfunction, the corresponding error code immediately appears in the text area of the display.
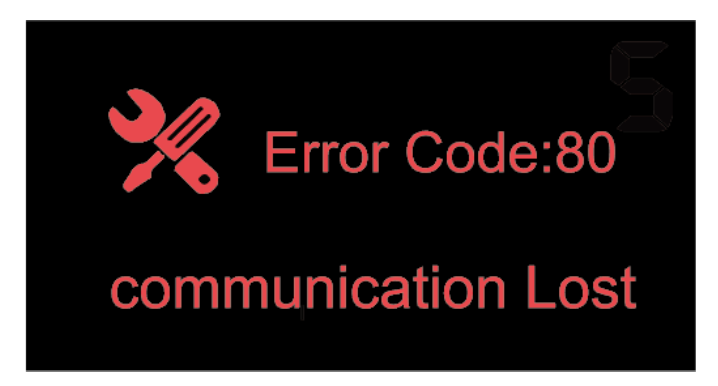
Have the display checked as soon as an error code appears — otherwise you may not be able to ride normally. Always contact an authorized bike dealer for this.
General settings
Go to the settings menu by MODE and DOWN holding them simultaneously for 1 second. All settings can only be changed while the bike is stationary.
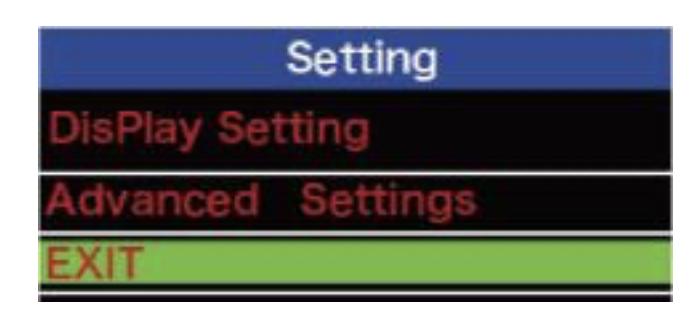
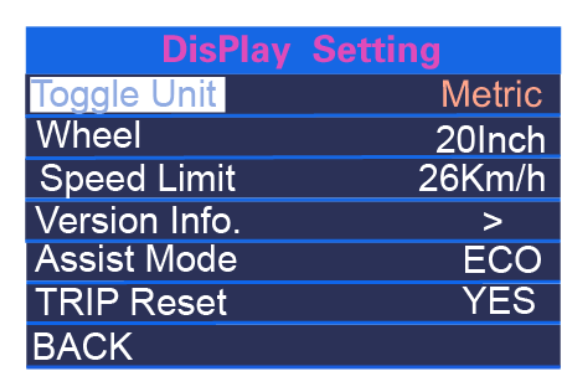
Display Setting
- Change unit — metric or imperial (default: metric)
- Wheel size — for information only, not adjustable
- Speed limit — for information only, not adjustable
- Version info — shows software version of controller and display
- Support mode — choose ECO, TOUR or BOOST
- Trip reset — clears the interim (trip) odometer
Advanced Settings
- Power Set — type of support levels (read-only)
- Walk Key — loop support on/off
- LCD brightness — level 1 (darkest) to 5 (brightest)
- Loop speed — adjustable from 3 to 6 km/h (default 6 km/h)
- Password — enable, change, or reset the startup code
Error code table
Below is the complete list of error codes from the manual. Do you also want to know what you can solve yourself for each error code and what the service partner needs to do?
→ View the detailed Vinka error messages & solutions page
| Error code | Meaning |
|---|---|
| 90 | Torque Zero Error |
| 11 | Torque Out Range |
| 92 | Torque Sensor Fault |
| 13 | Gear Sensor Error |
| 15 | Speed Sensor Error |
| 18 | Cadence Error |
| 20 | PCB Over-Temp Warning |
| A1 | PCB Over-Temp Error |
| 22 | PCB Sensor Fault |
| 25 | Motor Over-Temp Warning |
| A6 | Motor Over-Temp Error |
| A7 | Flash Error |
| 80 | Communication Lost |
| 32 | LORA Communication Lost |
| 01 | Communication CRC Error |
| 40 | Motor EST Error |
| 41 | Motor Over-Peak Current |
| C2 | Motor Loss Phase |
| 43 | Motor Over DC Current |
| D0 | Battery Over Voltage |
| 51 | Battery Low Voltage |
| 52 | Battery Over Current |
| E0 | Battery Version Error |
| E5 | Display Version Error |
Can't figure it out?
Our technical support team will immediately assist you with troubleshooting and finding the right parts.
 Quality
 Service
 Availability