About this product
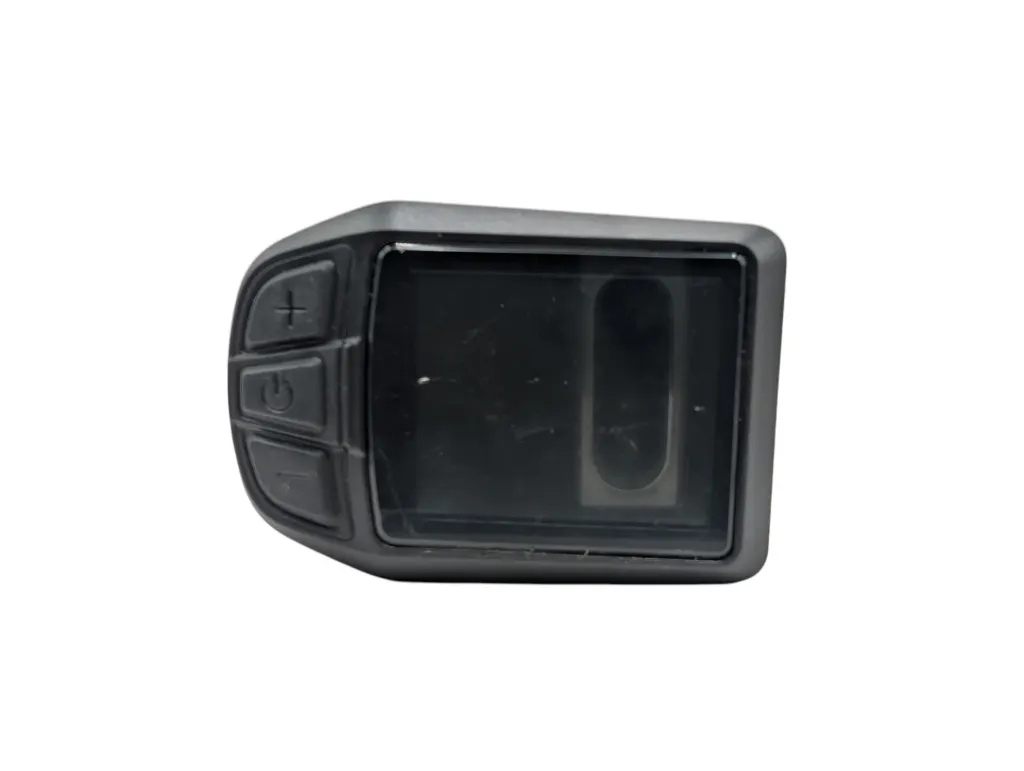
The UKC3 is the color display on various Vogue e-bikes — including the models Basic, Elite, Tri-Velo, Superior, Troy, Easy Go, and Easy Go (S). In this manual, you will read how to operate the display, adjust all settings, and what to do in case of an error message. Need help with a part? We are happy to assist you.
Specifications
| Screen | 4.5 cm IPS color screen, 5 brightness levels |
| Power | 24 / 36 / 48 / 52 V |
| Assistance levels | Up to 9, adjustable (3 / 5 / 6 / 9) |
| Display | Speed, battery charge, assistance level, odometer, trip, and ride time |
| Wheel size | 16 – 34 inches (or wheel circumference 51 – 255 cm) |
| Software | To be updated via UART |
The buttons
The display has three buttons: Power (on/off, confirm, open menu), Plus (up) and Min (down). In some supplier documentation, they are also called Plus/Min also known as UP/DOWN — these are the same buttons.
Operation
Power on/off
Press Power for 1 second. Without use, the display automatically turns off after the set time (0–9 minutes). If a startup password is set, you will need to enter it at startup.
Assistance level, lights, walk mode
- Assistance level: press Plus or Minus briefly. Setting 0 is neutral; maximum up to 9 depending on the setting.
- Headlight + day/night: hold Plus for 1 second (controller support needed).
- Walk mode 6 km/h: hold Minus for 2 seconds; a P will appear. Releasing stops the mode.
- Information menu: press Power for 1 second for odometer, trip, and ride time.
Settings
Open the menu by quickly pressing the Power button twice (within 0.3 seconds). The menu closes after 30 seconds of inactivity. Note: You cannot use the menu while riding (when your speed is greater than 0)
| Setting | Options / value |
|---|---|
| Brightness | Level 1 (darkest) to 5 (lightest) |
| Unit | Metric or Imperial |
| Power system | 24 / 36 / 48 / 52 V |
| Power indication | Percentage or voltage |
| Automatic assistance | On / off |
| Automatic shutdown | 1 – 9 minutes (default 5) |
| Wheel size | 16 – 34 inches, or circumference 51 – 255 cm (protocol needed) |
| Startup password | On/off; default code 0000 |
| Factory settings | Reset everything to default |
Wheel size = correct speed. An incorrect wheel size gives an incorrect speed display.
Advanced settings
Open the advanced menu using the Power button, and enter the password using the Plus/Minus buttons. Default password: 1801.
| Parameter | Range / option |
|---|---|
| Speed limit | 1 – 100 km/h |
| Current limit | 5 – 30 A |
| Number of assistance levels | 3 / 5 / 6 / 9 |
| Motor phases | 1 – 15 |
| Throttle 6 km/h | Yes / no |
| Help phases | 3 – 15 |
| Throttle control | Yes / no |
| Direction of rotation | Yes / no |
Increasing the maximum speed on public roads is not allowed and voids insurance and type approval. Only adjust this within the legal frameworks.
Error messages
In case of a malfunction, the UKC3 displays an error code and/or description on the screen (for example, "ERROR 30H – Unknown Error"). In case of a communication error, first check the connectors and wiring.
| Code | Description | Solution |
|---|---|---|
| 0x21 | Power failure | Internal controller defective — replace the controller. |
| 0x22 | Throttle handle failure | Check the throttle cable and connector; check if the throttle return spring fully returns. |
| 0x23 | Motor phase failure | Check if the three motor phase wires are securely connected; replace the motor if the wiring is intact. |
| 0x24 | Hall sensor failure (motor) | Check the Hall wires for short circuits and if the connectors are securely attached. |
| 0x25 | Brake failure | Check the brake lever for short circuits, incorrect resting position, or a defect. |
| 0x30 | Communication failure | 1. Check if the communication protocol matches the controller. 2. Check for cable breaks, loose plugs, and the waterproof pins of the display. 3. Disconnect the PAS sensor; if the error code disappears, then the PAS sensor is defective. 4. Disconnect the speed sensor; if the error code disappears, then it is defective. 5. Disconnect the throttle; if the error code disappears, then the throttle is defective. 6. Disconnect the Hall wires from the motor; if the error code disappears, then the Hall sensors are defective. 7. Nothing works? Replace the controller or the display. |
Connections
| Color | Function |
|---|---|
| Red | Plus / anode (24 – 48 V) |
| Blue | Power to the controller |
| Black | Ground (GND) |
| Green | RXD (controller → display) |
| Yellow | TXD (display → controller) |
Pay attention to the correct torque during assembly. Damage due to excessive torque is not covered by the warranty.
Battery & charging
The battery has a lock on the side. Lock the battery before you ride and remove the keys. Charging can be done on the e-bike or disconnected at home; check the charge via the lights on the battery.
- Always use the supplied charger.
- Charge fully once before first use (light turns green).
- After fully charging, charging stops automatically after 24 hours.
- Do not let the battery discharge deeply — this voids the warranty.
- Charging does not work below about 0 °C or above about 45 °C.
- Winter storage: store at room temperature and recharge at least once a month.
Can't figure it out?
Our technical support team will immediately assist you with troubleshooting and finding the right parts.
 Quality
 Service
 Availability